Composting is a great way to raise your gardening game – as well as keeping organic waste out of landfills. If you’re wondering what composting is and how you do it, you’re in the right place.
Turning food scraps and garden trimmings into compost might sound daunting if you’ve never tried it, but it’s easier than you think. Here’s what you need to know.
What is composting?
Compost mimics nature’s recycling system and turns yesterday’s leftovers into supercharged plant food.
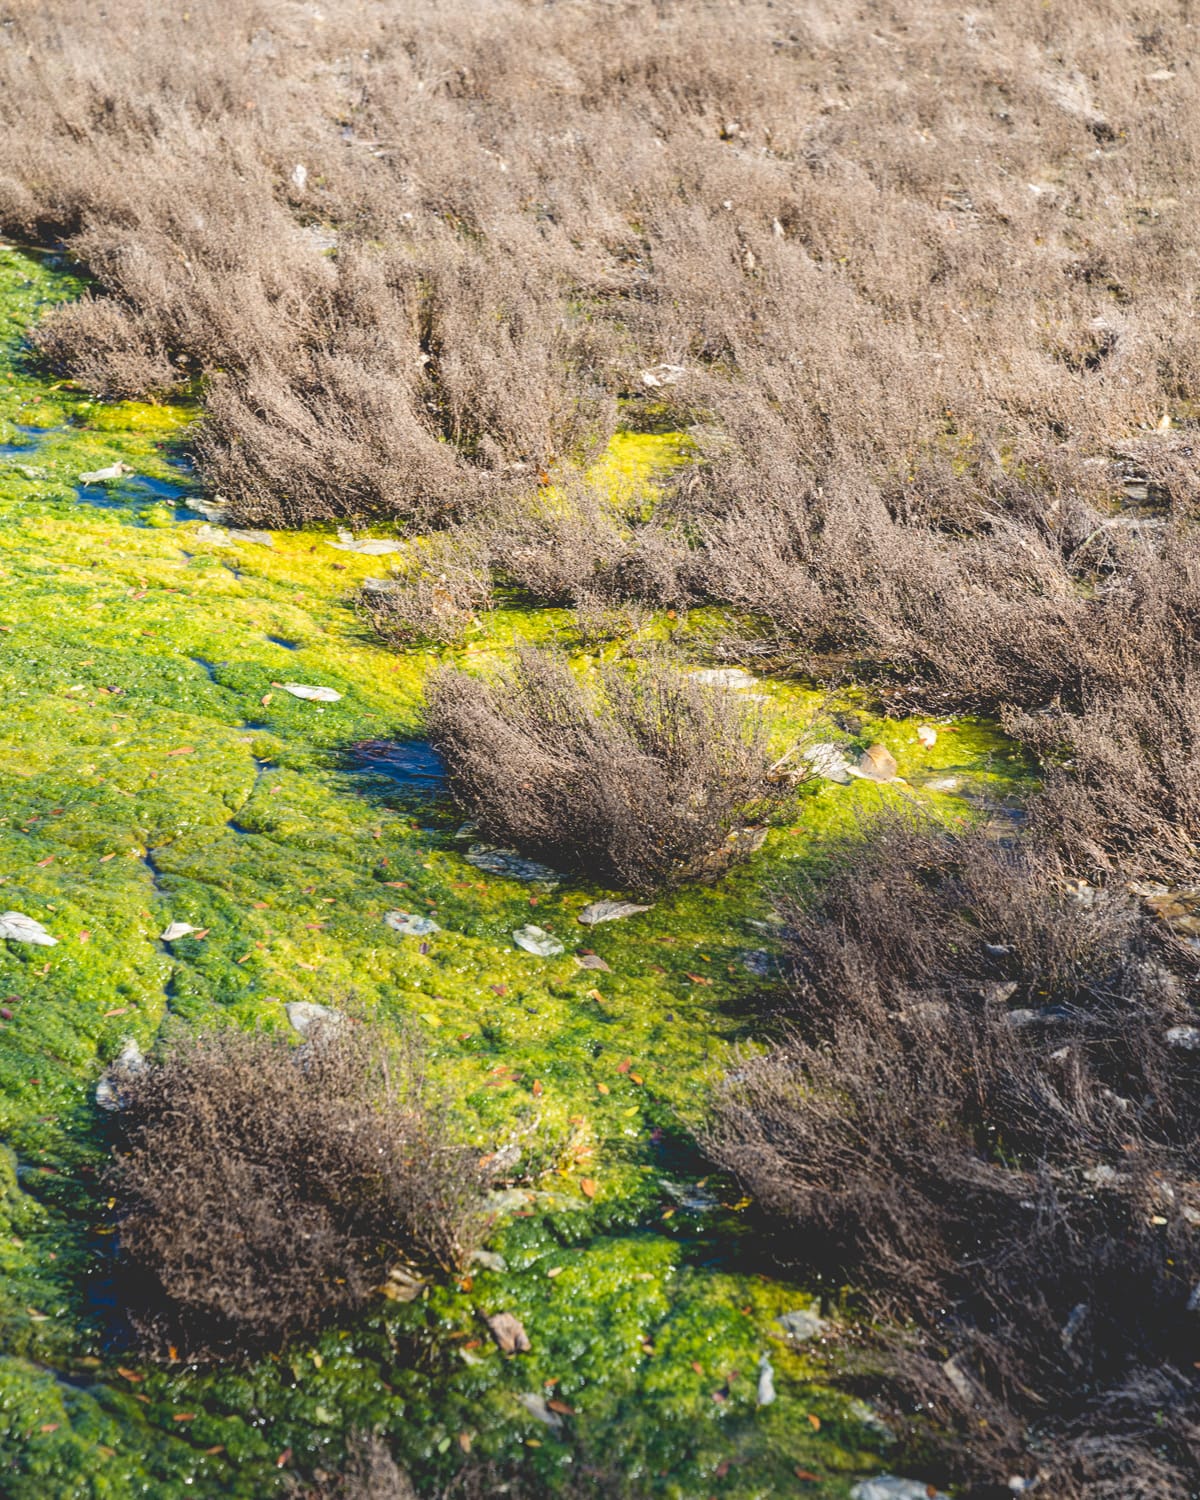
When a berry or nut falls to the ground in the forest, it decomposes. As this happens, nutrients such as nitrogen are returned to the ground that nourish existing plants and new growth. Composting mimics nature by speeding up the process in a controlled environment. By mixing together kitchen scraps and yard trimmings, a soil like substance is created that when added to garden soil or potted herbs on a windowsill grows healthier plants more resilient to climate shocks and diseases. Anyone can make compost – it’s easy and affordable.
How to start composting
Now you know what composting is, the first thing you’ll need to get started is a container or space for your compost. If you have a large garden, a three-sided open bay made of wood or cinder blocks, or an old raised garden bed is ideal in a dry, shady location of the garden.
For small spaces, or if you prefer to keep the compost contained, a bin with a lid is the way to go. Many cities and towns offer free bins, or you can purchase one from a hardware store. You can even build a compost bin using upcycled materials such as wine crates, plastic storage bins, or garbage cans. Just make sure there’s a removable lid for access and enough ventilation holes for airflow. If your bin isn’t well-aerated, the composting process won’t work.
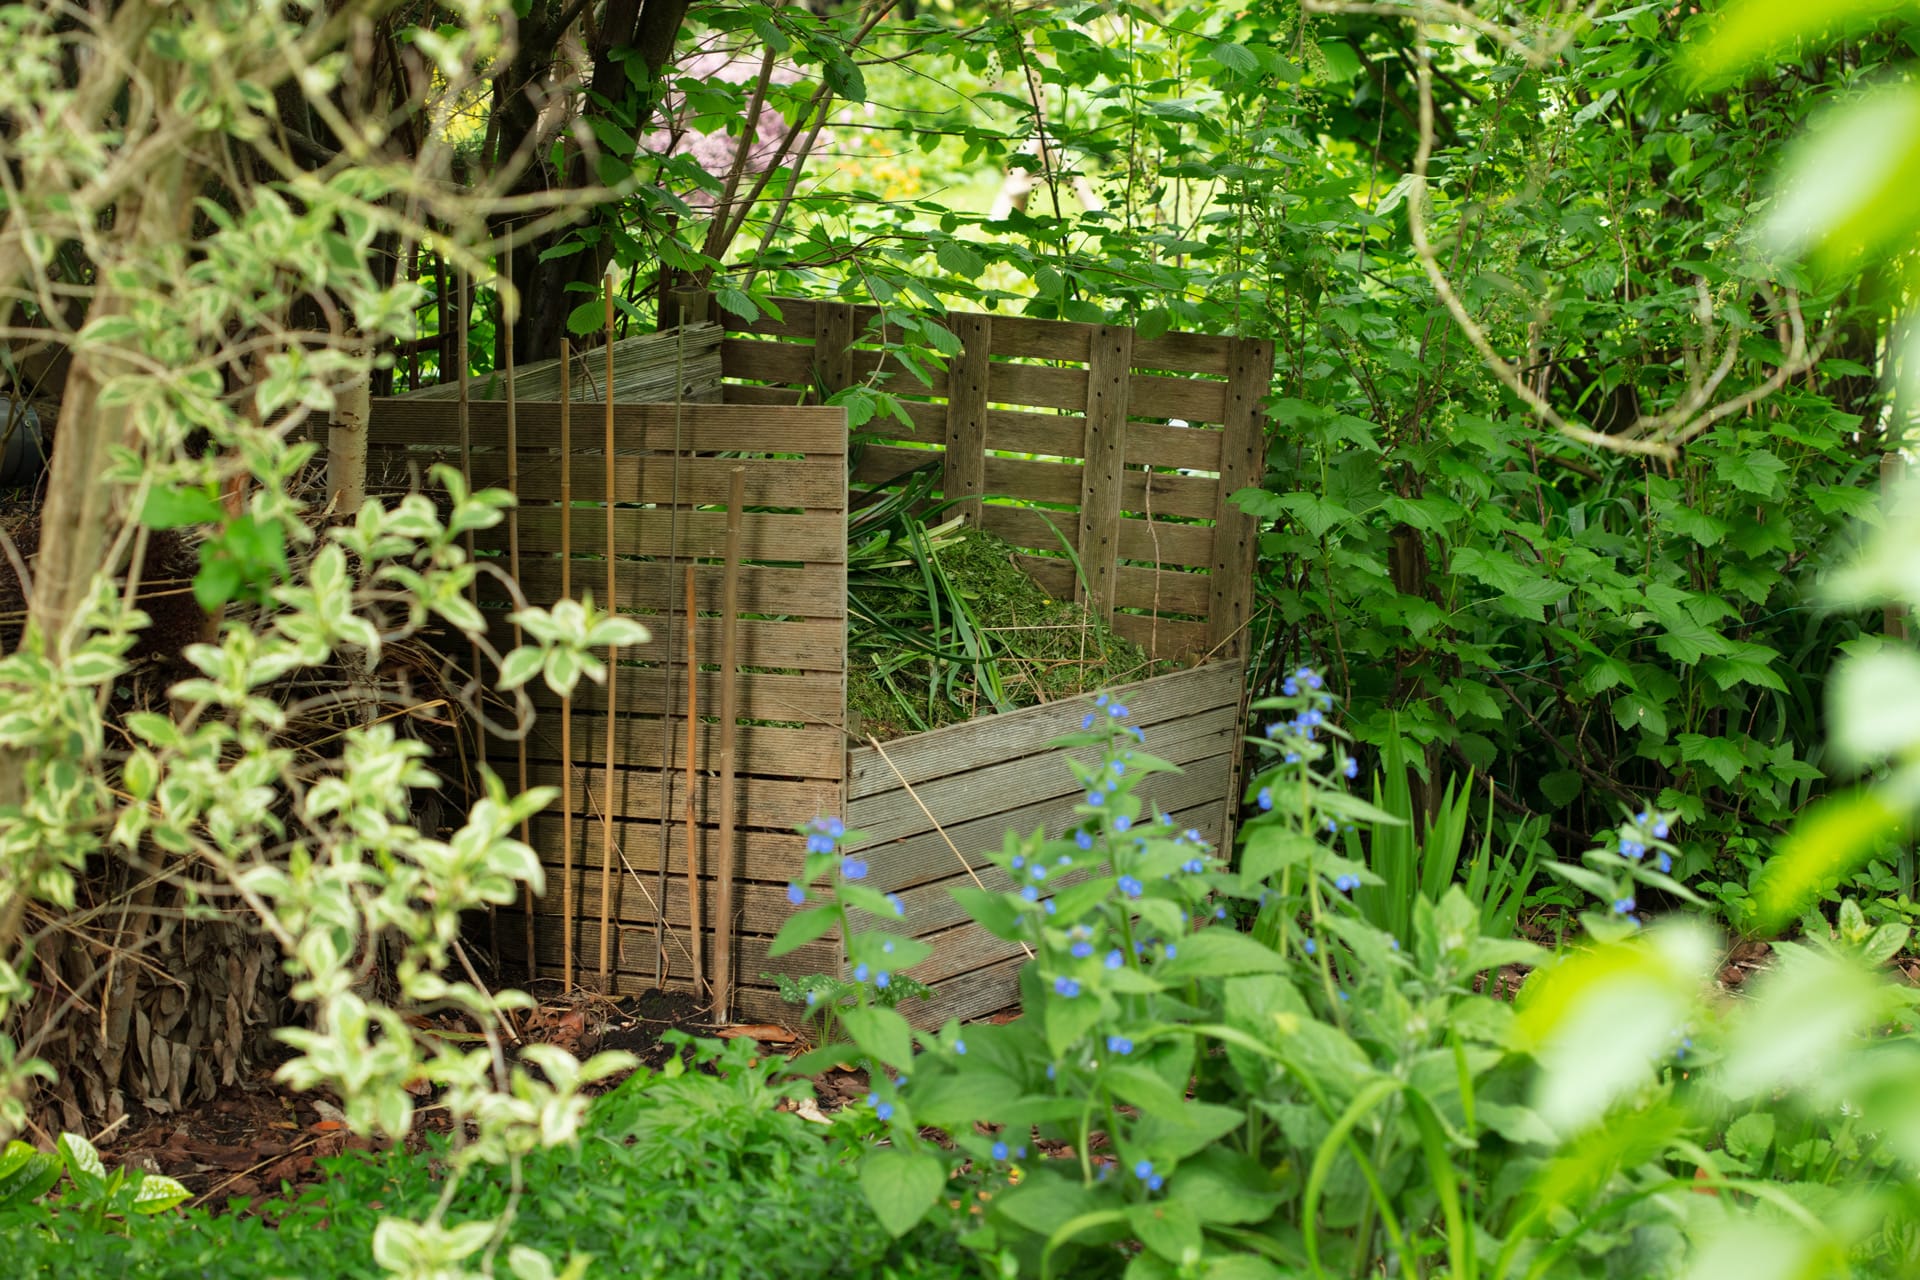
Photo: Lou-Lou van Staaveren and Guus Kaandorp
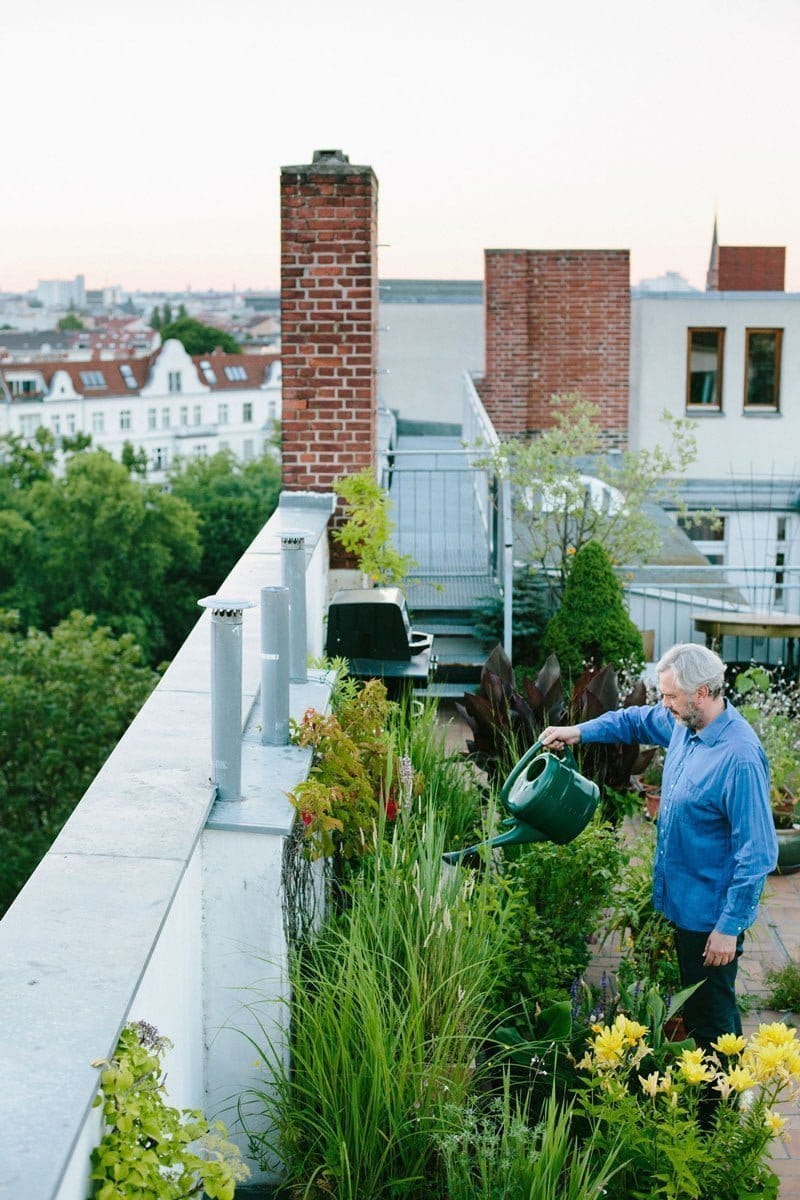
Next, you’ll need a compost starter, think of it the same way you need yeast for bread, it activates the other ingredients and starts the baking process. A compost starter can be a shovel of finished compost or a store-bought activator from a garden centre or hardware store. Lastly, you will need a hose or watering can to keep the compost moist and a pitchfork or shovel for turning.
What to compost – and what to avoid
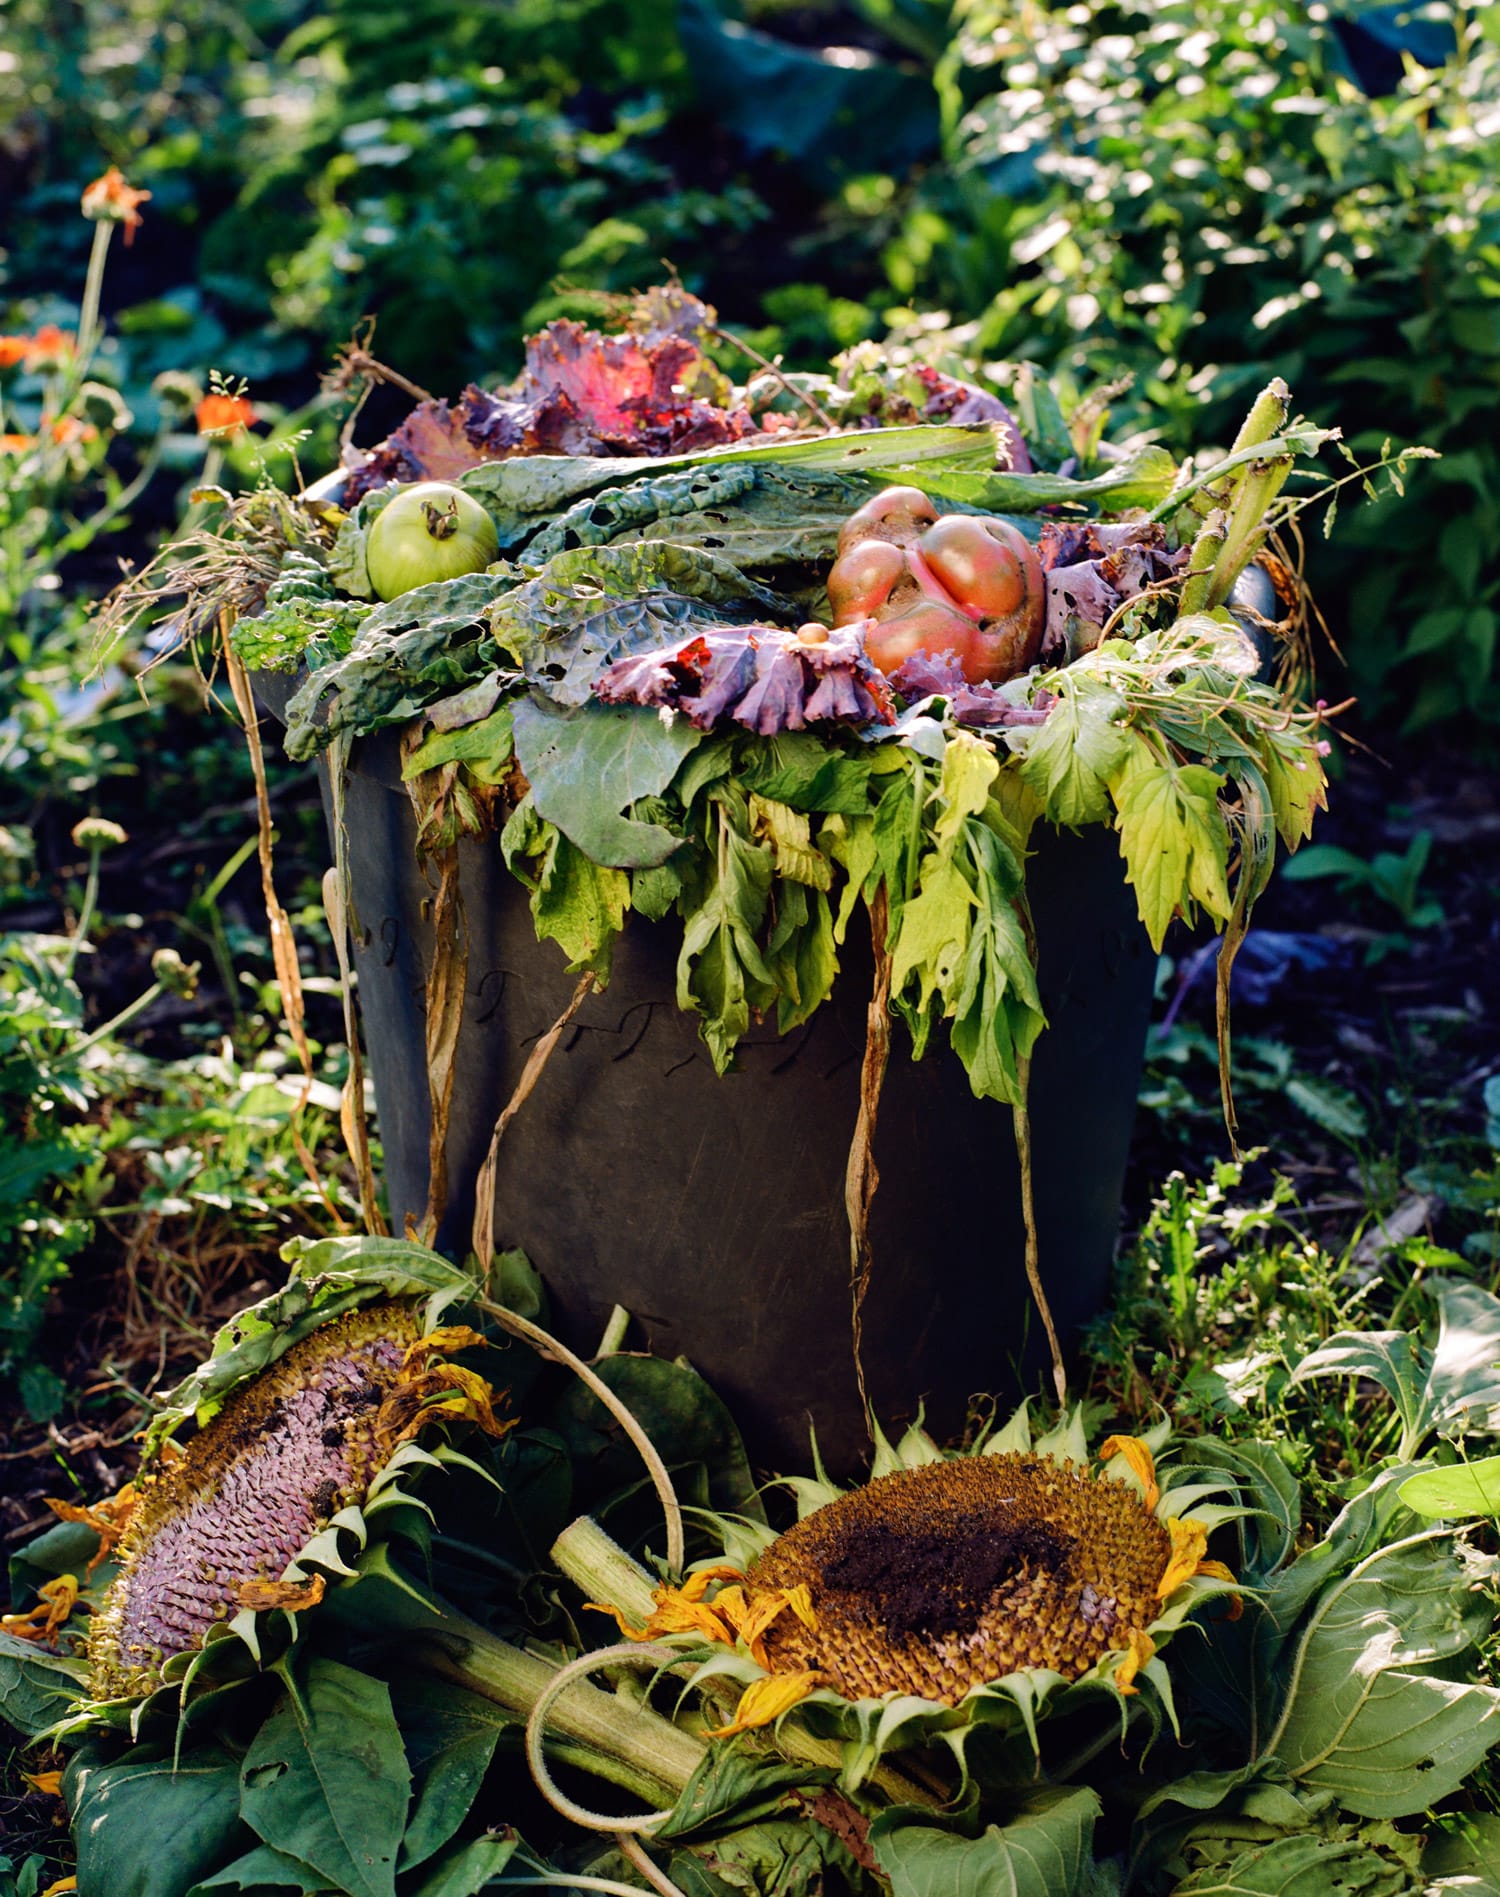
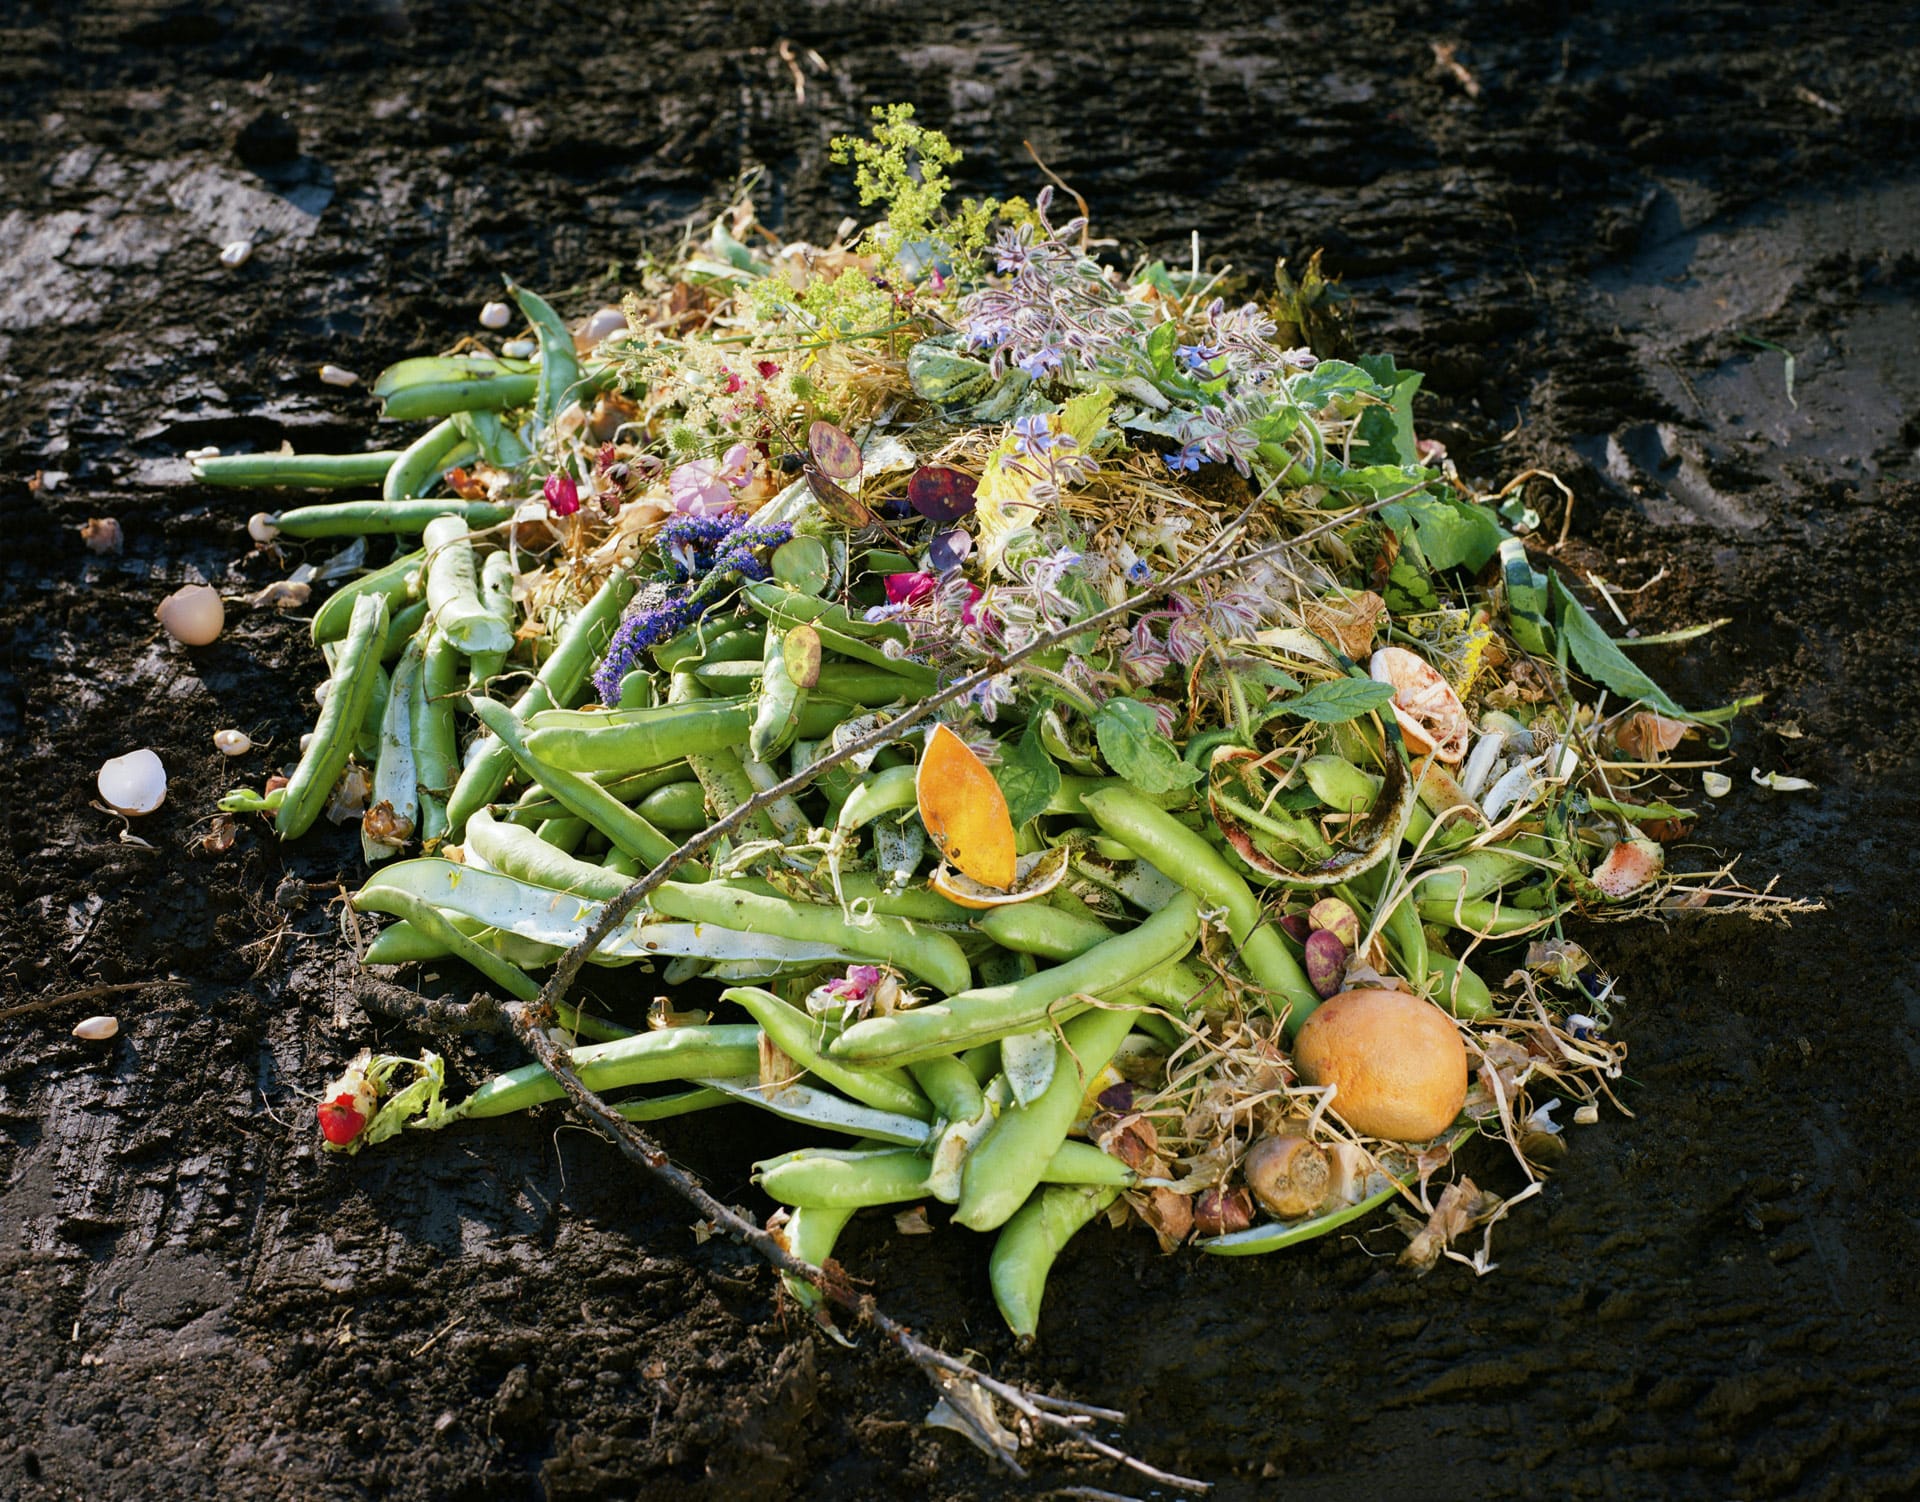
Composting works by combining green (nitrogen-rich) materials, such as kitchen scraps and grass clippings, with brown (carbon-rich) materials such as twigs and cardboard.
Green (nitrogen-rich) materials
- Fruit and vegetable peels
- Grass clipping
- Leftovers (avoid food that has been heavily seasoned, and remember small scraps break down more easily)
- Onion peels, garlic peels
- Salad greens
- Coffee grounds and filters
- Tea bags (plastic-free)
- Eggshells (crushed)
- Fresh grass clippings
Brown (carbon-rich) materials
- Shredded newspaper and cardboard (non-glossy)
- Straw or hay
- Twigs and wood chips (from untreated wood)
- Sawdust
What not to compost
Some things can’t be composted. Pet waste contains parasites that can be harmful to humans if ingested. Colored or glossy paper may contain toxic materials from printing inks, also harmful to humans and plant life. Diseased plants will break down, but their diseases may spread through the compost to the rest of the garden. While animal products (meat, fish, eggs, bones, dairy, grease, fat) are organic, they can create odor problems and attract flies, rodents, and other pests to your pile or bin.
How to make compost
There are three popular composting methods: hot, cold, and vermicomposting. Each follows a different process, but the end product is always the same: rich, earthy compost.
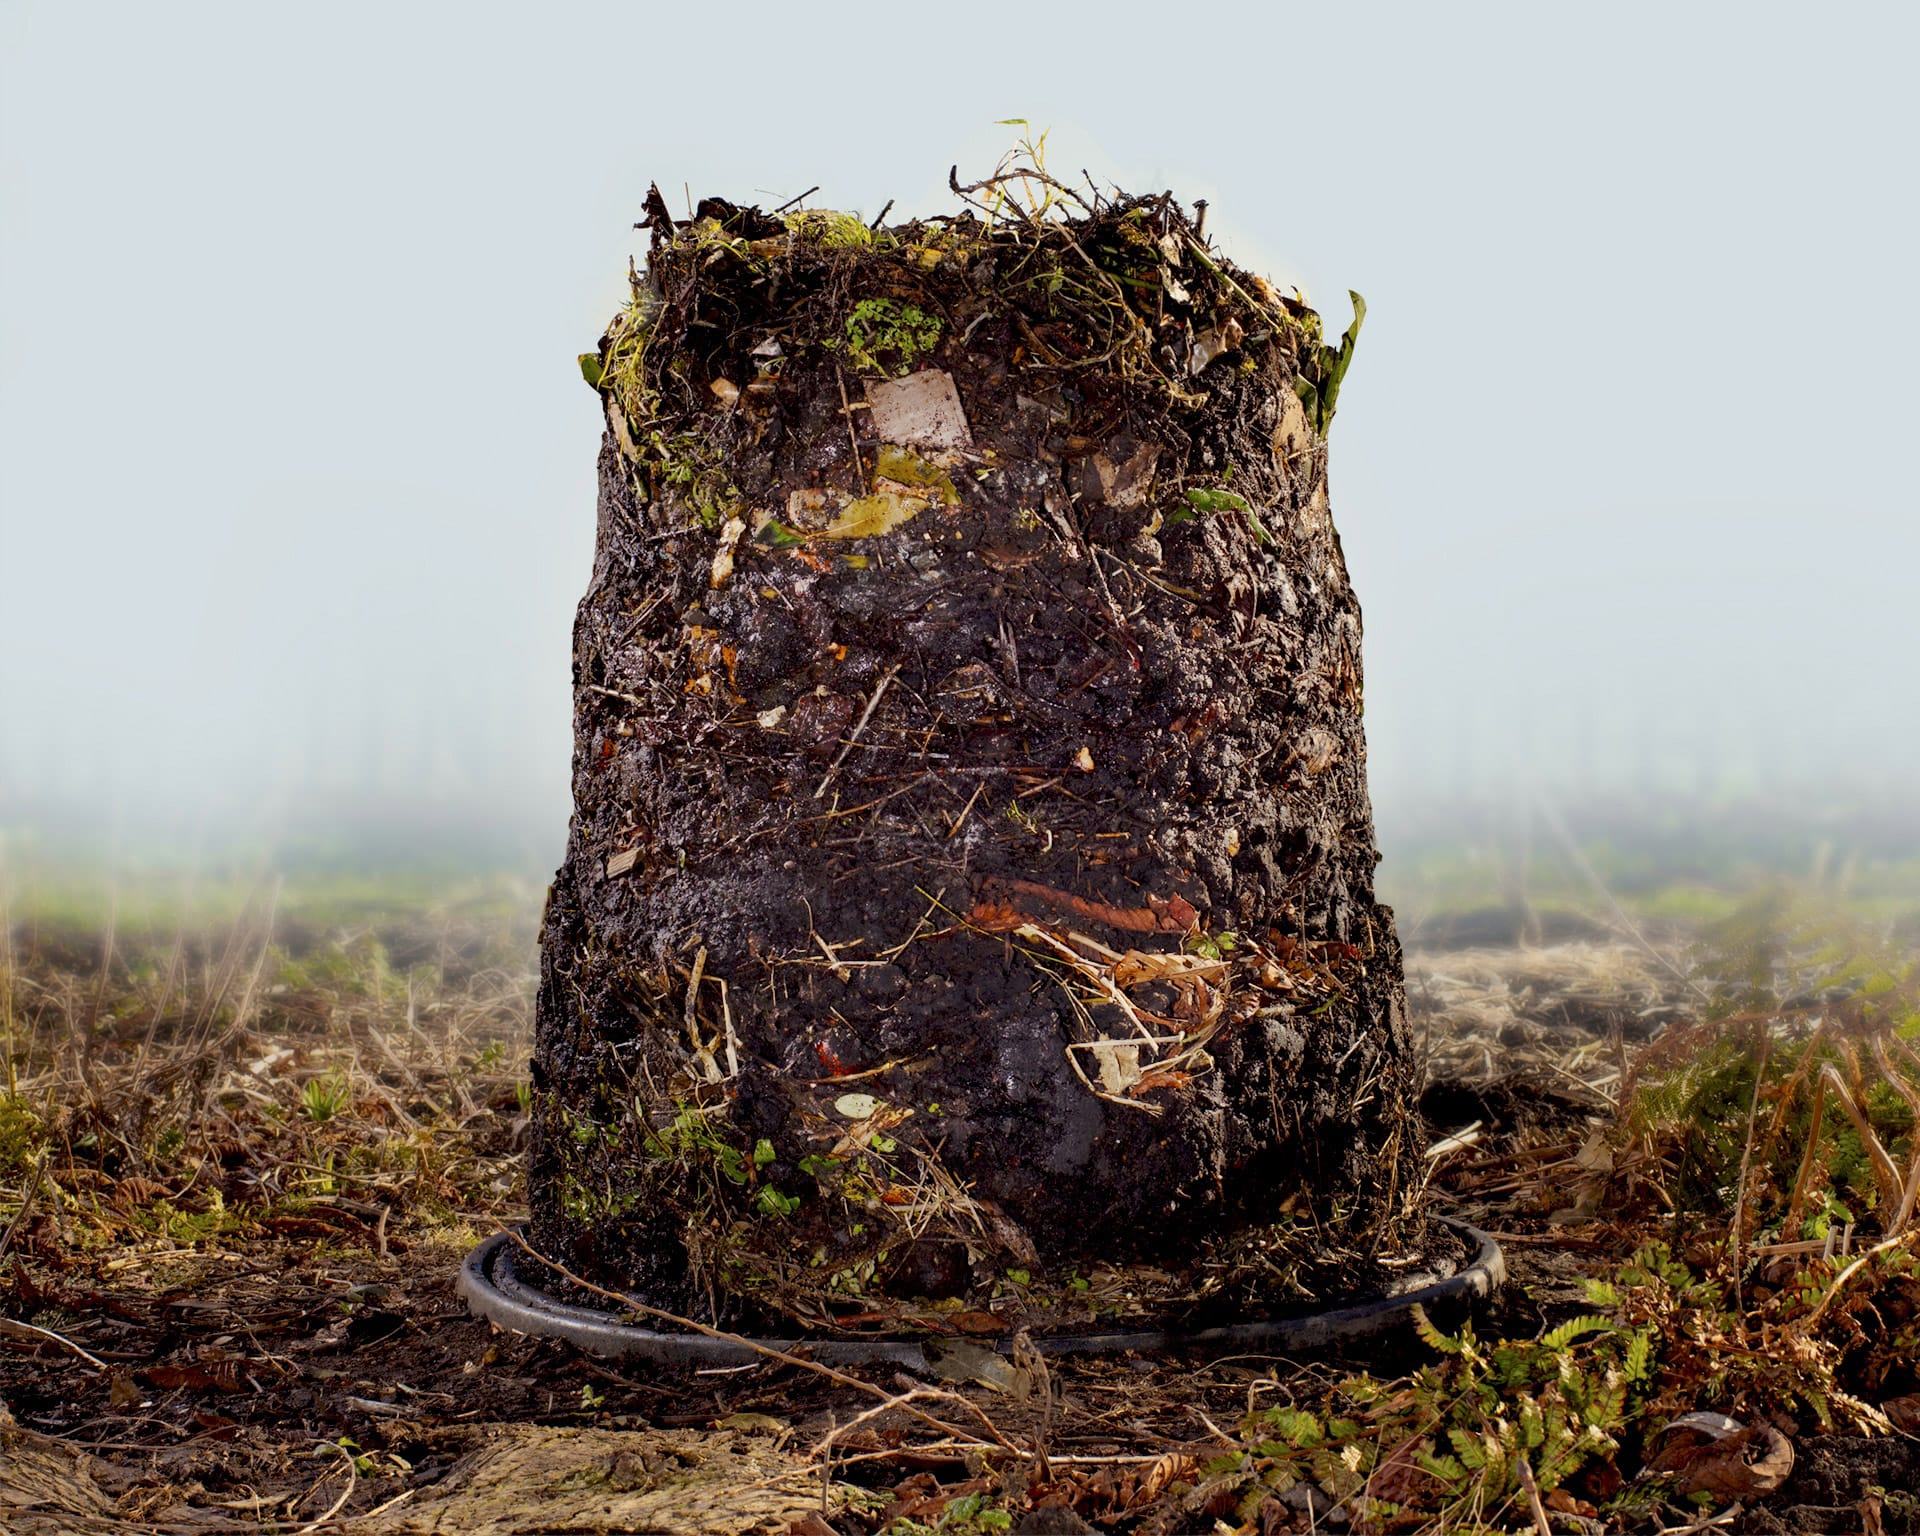
Hot composting is the quickest method. With the right combination of carbon, nitrogen, water and air, you can have garden-ready compost in a few months. Start with a small pile. As the materials decompose, you can build them up by adding more layers. When making hot compost, add one-third parts greens to two-third parts browns – alternating layers. Every few layers, add a shovel of dirt or compost starter, water (enough to keep the compost moist but not drenched) and stir. Add more ingredients once or twice a week, making sure to turn the compost everytime. This keeps air flowing and the ingredients baking. As more material is added, the compost will warm up, reaching 130–140°F (55–60°C). You can check the temperature with a compost thermometer. Once it’s cool to the touch, the compost is ready to be used.
Cold composting starts with a base layer of browns, then greens (one part browns to one part greens), always finishing the layering with browns to keep smells down and pests out. Every time you add more ingredients to the pile, add water, and every few months, give the pile a mix. It’s simple but takes about a year to produce garden ready compost.
Vermicomposting uses worms, specifically red wigglers, to create compost. They eat through the materials and their castings create the compost. The process takes about three to six months, and all you need is a container with a lid (to keep the worms in). Punch tiny air holes on the top and bottom of the container and keep a tray underneath it to catch the worm drippings. Start by filling the bin with straw, shredded newspaper, or dry leaves, plus a couple of inches of compost starter and a little water (just enough to slightly dampen the contents). Then add about 200 worms. They must be red wiggler worms and you buy them at most garden centers. Feed the worms once or twice a week with kitchen scraps mixed into the brown ingredients already in the bin. Worms need time to digest the food – so don’t overload the bin.
The vermicomposter can be kept under the kitchen sink, in a garage, or on an apartment balcony. Just remember to bring it indoors during the winter as worms aren’t fans of the cold. As a bonus, the liquid that collects in the tray is compost tea – that can also be used in the garden.


How to keep your compost healthy
A well-balanced compost bin or pile should smell like fresh garden soil. If your compost smells like ammonia or rotten eggs, there are probably too many green ingredients. Add dry leaves or shredded cardboard and give it a turn.
Moisture is essential in composting. It is what binds the ingredients together. Aim for that “wrung-out sponge” consistency. You also don’t want the compost to get too dry or too wet, so during heavy rain, cover an open-air cold compost pile with a tarp, and in hot weather make sure it stays moist.
Depending on the method you are using, over time, you will start to notice the materials have broken down into a dark, crumbly, earthy-smelling substance. You’ve made compost!
How to harvest your compost
Start by removing the compost from the bottom of the bin or pile. For vermicomposting, the best method involves flipping the bin and creating a mountain with the compost. The worms don’t like light and will travel to the bottom of the mound. This allows the castings without the worms to be harvested from the top of the mountain downwards.
Mix the compost into your regular garden soil, add to houseplants, use it to boost seed-starting mixes, and make sure to mulch it around your tomato plants to produce the largest and sweetest fruit you will ever grow.

Cover star Madame Gandhi on the sounds of the Antarctic, free climber Alex Honnold reveals his biggest challenge yet, actor Rainn Wilson embraces his soulful side and much much more!